My ASMR House Furniture Tier List
S–D rankings for ASMR furniture by cash impact and usefulness—community observations, not official balance sheets.
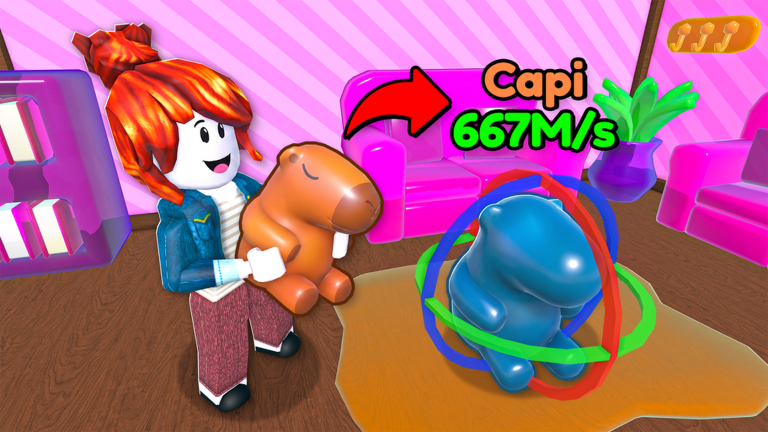
This My ASMR House furniture tier list ranks ASMR (squishy) furniture types by how hard they work for your progression: cash from your collection, cart-trip efficiency, and how well they support unlocking and filling new rooms. Rankings are community-style observations from gameplay logic, not an official Crazay Houses chart. Values can shift after patches—always recheck the in-game payout when something feels off.
Core loop reminder: during the day, haul furniture home with a cart (about four items per trip), grow collection value, and unlock rooms. At night, stay inside and keep monsters from finding you. Headphones help you enjoy the ASMR audio while you decorate. For the full beginner path, start with Getting Started and Collect Furniture.
How we rank (criteria)
| Priority | What we measure |
|---|---|
| Cash impact | How strongly a piece seems to grow collection earnings |
| Trip value | Worth relative to one of your ~4 cart slots |
| Room utility | Helps unlock goals or makes a new room feel “complete” faster |
| Risk vs reward | Outdoor grab difficulty near dusk vs payout |
| Flexibility | Useful in multiple rooms vs ultra-niche clutter |
We intentionally rank categories and archetypes rather than inventing fake unique item IDs. Exact names and numbers change with content drops—use tiers as a decision framework for every cart run.
S tier — haul these first
Large signature squishies and premium statement pieces
Big sofas, oversized plush chairs, hero beds, and other large ASMR furniture that clearly punch above small clutter in collection value. One S-tier piece often beats three tiny fillers in the same cart.
Why S:
- High cash contribution per inventory slot
- Strong “centerpiece” energy when you unlock a new room
- Worth turning the cart around early if dusk is close
Play tip: if you spot an S-tier outdoors with two empty cart slots, grab it immediately—even if you abandon a longer scavenger path. See Survive the Night so greed does not strand you outside after dark.
A tier — excellent everyday value
Mid-large comfort sets and high-appeal interactables
Love seats, plush ottomans, squishy storage units, and standout interactive props that still feel premium in headphones. A-tier items are the backbone of efficient daytime farming.
Why A:
- Reliable cash without being ultra-rare
- Easy to place in living rooms, bedrooms, and lounges
- Good density when you need to fill a freshly unlocked space
Stack two A-tier pieces with one S-tier when possible for a “quality cart.” Pair with Unlock Rooms so cash converts into expansion instead of endless duplicate clutter.
B tier — solid fillers and thematic sets
Matching decor bundles, mid furniture, and mood pieces
Shelves of soft objects, themed side tables, medium plush props, and set pieces that look great and pay okay. B-tier shines when S/A spawns are dry.
Why B:
- Keeps cart trips productive on quiet days
- Helps rooms feel cozy without waiting on jackpots
- Useful for completing visual themes after major unlocks
Do not fill all four slots with pure B if an A/S is nearby—opportunity cost matters.
C tier — situational / low priority
Small accents, duplicate spam, and low-impact clutter
Tiny squish toys, micro pillows, repeat commons you already own in bulk, and pieces that barely move collection income. Grab them only when the path is already safe and the cart is otherwise empty.
Why C:
- Weak slot efficiency
- Easy to over-collect while ignoring night timing
- Better replaced later when higher tiers appear
Exception: if a room unlock objective specifically needs “any furniture placed,” a C-tier can finish a checkbox—then replace it later.
D tier — skip unless desperate
Broken-path junk, extreme duplicates, and dusk bait
Anything that forces a long outdoor detour for almost no cash, especially when the top UI shows night approaching. D-tier is how players die to greed.
Why D:
- Poor cash per minute
- High monster exposure risk near nightfall
- Clutters storage without helping unlocks
Leave it. Run home. Live to farm tomorrow’s daylight.
Cart loadout templates
Aggressive value run (best when day is long): 1 S + 2 A + 1 B
Safe filler run (day almost over): 2 A + 1 B + empty slot for a surprise S
Unlock push: prioritize whatever the room objective implies, then highest tier leftovers
Multiplayer split (up to 7 players): assign zones so two people do not waste slots on the same C-tier pile — see Strategies Hub
Remember food on outdoor tables: pick it into your bag during day routes so you are not hungry for supplies when you should be decorating indoors.
Tier list FAQ mindset
This list will disagree with some creators—and that is fine. If your server economy feels different after an update, re-rank by watching which pieces move your cash the fastest over three full day cycles. Combine this page with Codes when promos exist, and ignore shady scripts; clean routing beats banned accounts.
Official play link stays on the Links Hub. Keep headphones on, watch the day/night meter, and treat every cart slot like premium real estate.
Frequently Asked Questions
Quick answers to the most common questions.
Is this an official My ASMR House tier list?
No. It is a community-style ranking based on observed gameplay value—cash impact, cart efficiency, and room usefulness—not an official Crazay Houses chart.
Should I always fill all four cart slots?
Usually yes, but not with D-tier junk near dusk. An almost-full cart of A/S pieces beats a full cart of clutter if night is close.
Do furniture values change after updates?
They can. Recheck payouts after patches and adjust priorities. Follow the Updates Hub for patch context.
What matters more: looks or cash?
Early game, cash and unlocks win. After rooms open, mix high-tier earners with thematic B-tier pieces for cozy ASMR vibes.
Where do I learn efficient collecting routes?
Read Collect Furniture and pair it with Survive the Night so you return before monsters.